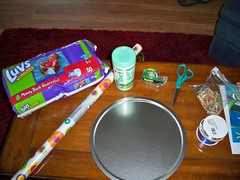
Step 1: Gather materials.
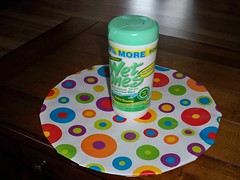
Step 2: Assemble the base. I ended up using a (wrapped up) pizza pan for the base and a canister of wipes for the core. I've also heard of using a large baby bottle in the center.
Step 3: Roll diapers and start placing them around the core. I secured the rolled diapers with rubber bands in the hopes that the diapers can be preserved for later use.
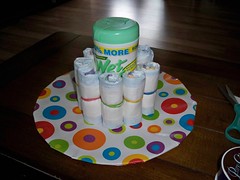
Step 4: Repeat step 3 until the cake takes shape. I had originally planned on creating a 2-tier cake, but once I got those layers in place, the third tier seemed to fit perfectly.
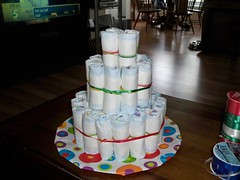
Step 5: Adorn with ribbon. This was actually one of the hardest parts of putting together the cake. Let's just say that the glue gun came in handy!
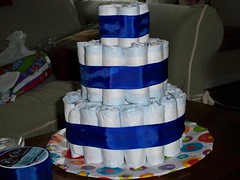
Step 6: Ribbon #2 for a little extra pop.
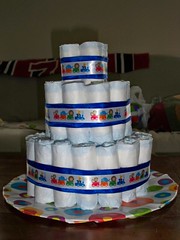
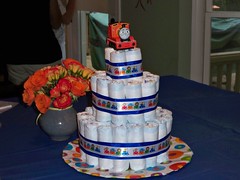
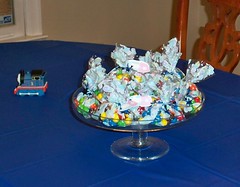
Step 7: Ta-da! The finished product.